Friday, May 18, 2012

Green and Purple

I just love how well green and purple go together! Just a quick card to share featuring some more of my current favorite rick rack flowers....the card is loosely based on Card Patterns sketch #165.
Have a great weekend!

Thursday, May 10, 2012

Lulupu DT Call


I made this for www.Lulupu.com's DT call. If you are a paper crafter in India and haven't heard about www.lulupu.com then you are seriously missing something.......it is a great place to shop for almost all international big brands in craft supplies.......do check it out....you can also participate in the DT call which ends on May 15th....the details can be found here.
This card is inspired by this card by Khushboo, who is DT member at Lulupu.
I've made it for my mum I do feel I have overdone this card a bit, I guess it could have done without a couple of elements....well never mind I hope my mum likes it (she is quite critical of my work!)
The chevron background is handmade, the tutorial can be found here.
I've rounded the corners of the card with this corner chomper available at lulupu.com, the chipboard alphas are colored with copics and covered with glossy accents also available at lulupu.com and so is the paper piercer used to pierce the edges of the card, the twine is from this pack. The flowers are made with giant rick rack (will share how to make these soon). The buttons and butterflies are from Pie Lane.
Challenges: Card Patterns Sketch #164, Crafty JC challenge blog - for a special lady, Lia Stampz Challenge 16 - Make something for Mom or a special lady in your life
Here are 3 of my favorite projects:
A 3-D explosion Box


A Baby Boy Mini Album, the details of which can be found here

Wednesday, May 9, 2012

For the love of crafting Recipe Challenge

This month's challenge at the "For Love of Crafting" is being hosted by the extremely talented Anita.  
Here are the details of the challenge:

Challenge-6

Recipe Challenge

Use the following ingredients to craft your project.

1. Use a Bow-it can be any sort of bow with ribbon, twine or any material of your choice.
2. Use some stamping on your project. It can be any stamping type-either on your back ground or in corners etc. the choice is yours.
3. Use either a sentiment or a flower or both. The sentiment can be stamped or hand written but this is a seperate ingredient and does not coincide with the above ingredient.

Here's my take on the challenge, it features my favorite Hero Arts Large stencil flower cling stamp......it has been colored with copics.
 I noticed later that the bow has toppled over in the photo.........n I gave away the card so can't take another picture..well never mind...

Do hop over to the "For the Love of Crafting" blog to play along and see what the other DT members have cooked up.
 

Tuesday, May 8, 2012

My first explosion box


 I made this a while back......made it on request for Khushboo and Jwalant's engagement..... It measures 5x5 inches and has 3 layers to put pictures and personal messages,
the engagement ring will be kept in the box in the center. It involved so much effort that I'm not sure if I'll attempt another one (might try smaller one with no layers)!
Take a look at the video if want a detailed view of the box

.......thanks for visiting!

Saturday, May 5, 2012

Super easy layered handmade flower tutorial

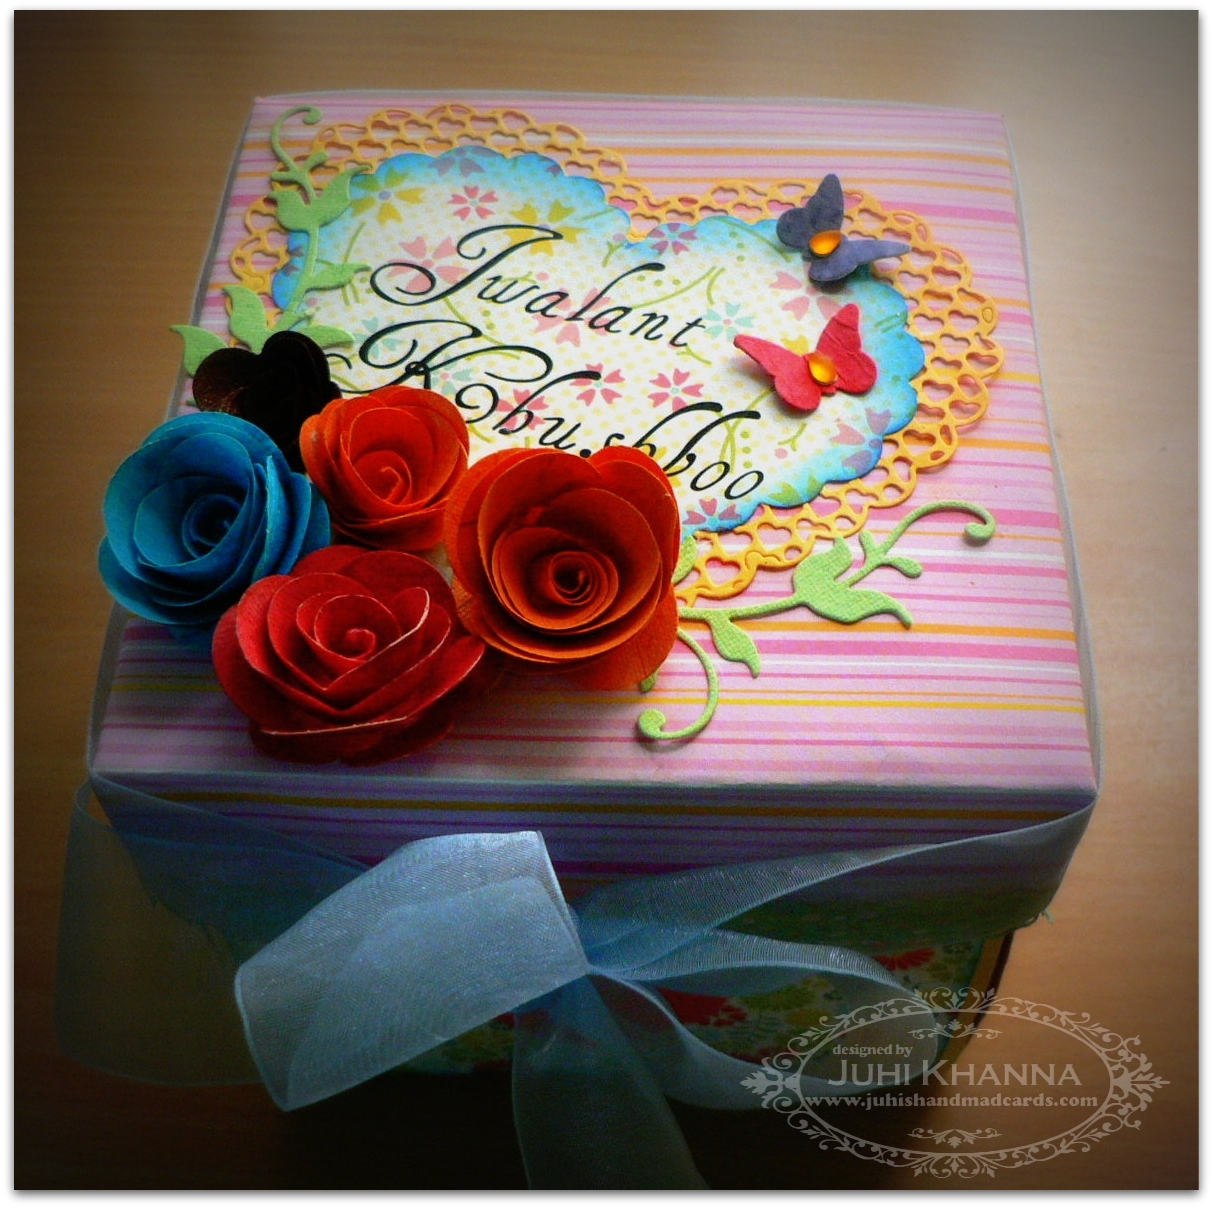
 Hi, this is Juhi and I am going to show how to make these layered flowers.
This tutorial is also available here.
I get a lot of queries from non-regular crafters on how to make and embellish cards for their loved ones......so I decided to post a tutorial on how make handmade flowers using material which is easily available at home. These flowers can be made in less than 5 minutes and require no fancy craft tools or supplies!
Things required:
1. Thick handmade paper/cardstock ( I used a wedding invitation envelope).
2. Scissors
3. Glue
4. Stapler (optional)
5. Something for the flower center - buttons/half cut pearls/beads.....
6. Paint brush or a pen - this will be used to roll the flower petals
Roughly cut out 3 circles of different sizes (my biggest circle has a 2 inch diameter).....these circles don't have to be perfect (mine are freehand).....I have used the printed side of the wedding invite to add some color.
Give 6-7 equally spaced radial cuts on the circles. be careful not to cut till the center but slightly less than that. These will be the flower petals
Roll the petals around the end of a paint brush or pen.
Stack the rolled layers and staple in the center.
Make the flower center with a button/half cut beads or whatever you like and your flower is ready! Increase or decrease the number of layers to get bigger or smaller flowers.
I hope this was easy enough.....do lemmi know if it was not!
Thanks for visiting!

Thursday, May 3, 2012

Some up-cycling!


I am so happy with this card.......the entire card is made with old wedding invites (even the cardstock base).......my parents being college professors get invited to a lot of weddings.......whenever I visit them I bring back tons of wedding invites which I usually use to die-cut flowers, swirls etc.
As I don't have a die-cutting machine these days I decided to make my own blooms from the invites.......they were very easy to make (i kept the printed side up....love the effect!).
Challenges : Recycling with Sonia Suprabha Venugopal! :) at Yvonne's blog, Simon Says Stamp Birthday Challenge, Card Patterns Sketch #163, I used this inspiration photo for the Virginia's View Challenge at Lily Pad Cards: