Showing posts with label lifestyle. Show all posts

Saturday, November 7, 2015

Share Handmade Kindness

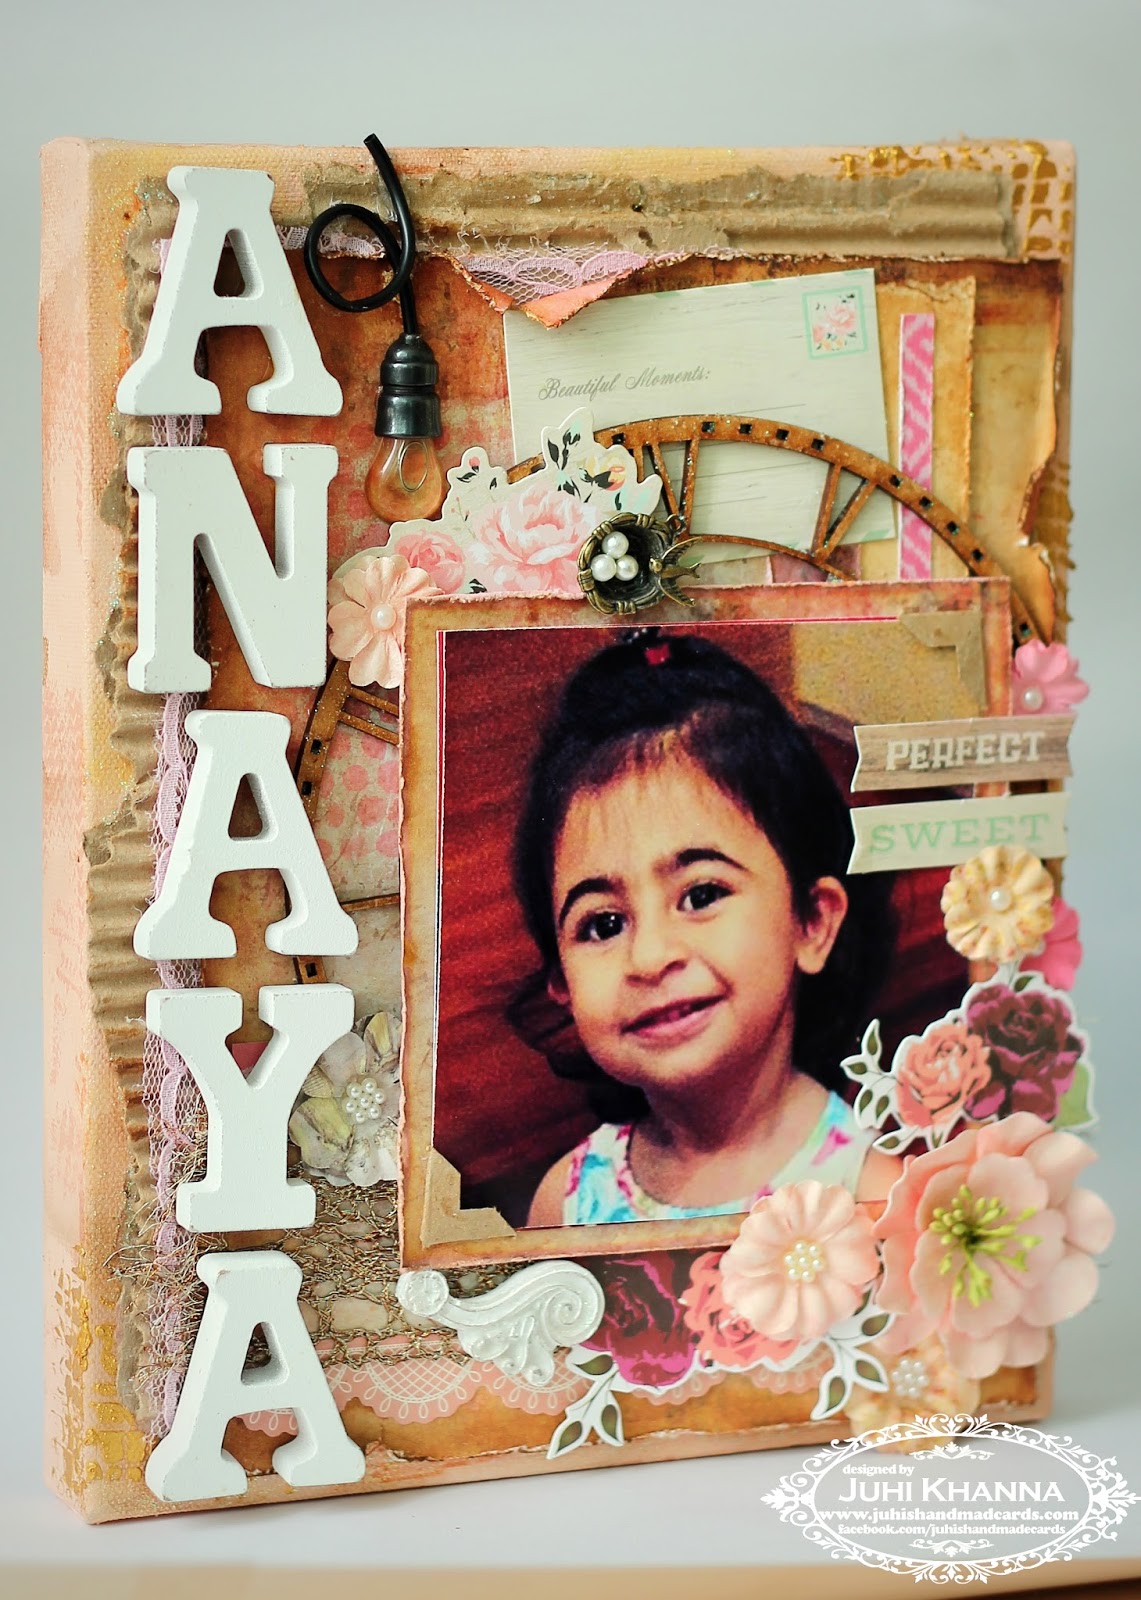
Happy Saturday! I hope everyone's having a great Saturday. Today I'm sharing a mixed media canvas I made for a friend;
as a few of you might know I moved to Singapore recently. Right after we moved here, my husband had to travel for work for 5 weeks, leaving me and my LO in a new place with no friends or family around. I was lucky enough to meet my friend at this time, she never let me feel alone in a new place, invited us on play dates, introduced me to her friends and helped me find my way around the neighborhood.....
After reading about Jennifer Mcguire's "Share Handmade Kindness" challenge for friends and family,
I just knew I had to make something for her.
Even though I'm just a beginner when it comes to mixed media, I enjoyed adding all the layers and textures on this canvas.....and love how it turned out.....and the best part is the photo is not fixed and can be changed.
Also playing along
Creative Artiste Challenge 8 - Mixed Media
CAS-ual Chic Challenge - CCC05 - Precious Metals
Thanks for visiting!

Wednesday, April 23, 2014

First we had each other...

I made this canvas for a friend who had a baby girl recently. The quote was cut using my Silhouette Cameo, the background patterned paper is from DCWV, I added a generous dose of sparkle Mod Podge over the entire canvas.......love love love the shimmer :)
I also added a customized photo frame (yup you guessed it the baby's name is Saannvi ;) )  to complete my handmade gift set.

Tuesday, December 31, 2013

Live the life you've imagined

 .....I want to take this message forward into the new year, might not be possible at all times but I guess it's worth trying.
Now onto the crafty stuff.....well this is my first attempt at a "mixed media"....I'm not sure if it is truly "mixed media", or for that matter what would qualify for "mixed media"? But I had loads of fun making it and I love the end result.
I started off with the black quote and border against a bright red and gold background. I covered this with a thick layer of Mod Podge only to realize that I don't like it at all! So I added the sunflowers and an MDF corner......now I liked it even less! Then I sprayed walnut stain ink over the entire canvas only to discover that Mod Podge is non-porous meaning that the walnut stain ink would only be absorbed by the sunflowers and MDF embellishments....so wiped it off the remaining canvas and rubbed on distress paint in "fired brick" with my fingers...added a metallic butterfly and some hand-made copper wire spirals to finish it off. 
I even added a homemade cardboard stand/easel to the canvas.
I used my Silhouette Cameo to cut out the quote and the border.
Thanks for visiting!

Monday, December 23, 2013

Handmade plastic straw snowflake tutorial

Wishing you a Merry Christmas and a Happy New Year!


I have always been fascinated by snowflakes, even more so probably because I haven't seen any in real life :(
I tried out these super easy (and inexpensive) plastic straw snowflakes and loved the results!
You will need:
  1. Plastic straws - mine were 8.25" long
  2. Hot glue gun and glue sticks
  3. Fevicol / Elmer's Glue
  4. Fine glitter / diamond dust
  5. Scissors
  6. Stapler
I began by flattening the straws in the center by stapling, this makes it easier to layer the straws.
Using hot glue, glue together 3 straws at their centers, making an angle of approx 60 degrees. The base of my 6 armed snowflake is ready.
Cut 12 1.5"  straw pieces and make angular cuts at the ends as shown below. 
Hot glue pairs of the straw pieces to make 6 "V" shapes as shown in the photo. Hot glue takes about 30-40 seconds to cool and set, you might want to lay the pieces together at the desired location, apply hot glue and let it set without disturbing.
Glue the "V"s between the arms of the snowflake.
Cut out 12 1/2" straw pieces and make angular cuts at one end.
Glue them to the snowflake tips and your snowflake is ready.
Cover the snowflake with any clear drying glue. I applied a thick layer of fevicol with a brush.
Pour glitter and let it dry....once dry, re-apply glitter over any left over patches.
I just loved how they turned out.
These would make lovely Christmas tree ornaments, since I don't have one, I covered part of my stairway wall with them, much to my husband's dismay and daughter's delight :).
Hope you enjoyed the tutorial.

Wednesday, December 4, 2013

Wedding anniversary shadow box


Shadow boxes have been on my mind for long, last week I finally got around to making one. I made this for my parents who celebrated their 40th wedding anniversary this November.
I first painted the MDF shadow box black and added some patterned paper at the edges and inside the box partitions. Added photos in three partitions and covered everything with a generous layer of Mod Podge. I finally embellished the box with MDF, chipboard and metal embellishments.
Supplies used:

  1. 12x12" MDF shadow box
  2. Gesso and Black acrylic paint
  3. K & Company patterned paper
  4. Mod Podge
  5. Tim Holtz tattered floral die
  6. Tim Holtz distress paint
  7. Mdf embellisments from here and here
  8. Metal embellishments are from a RAK from Mallika
  9. Flower centers are from my stash

Sunday, October 27, 2013

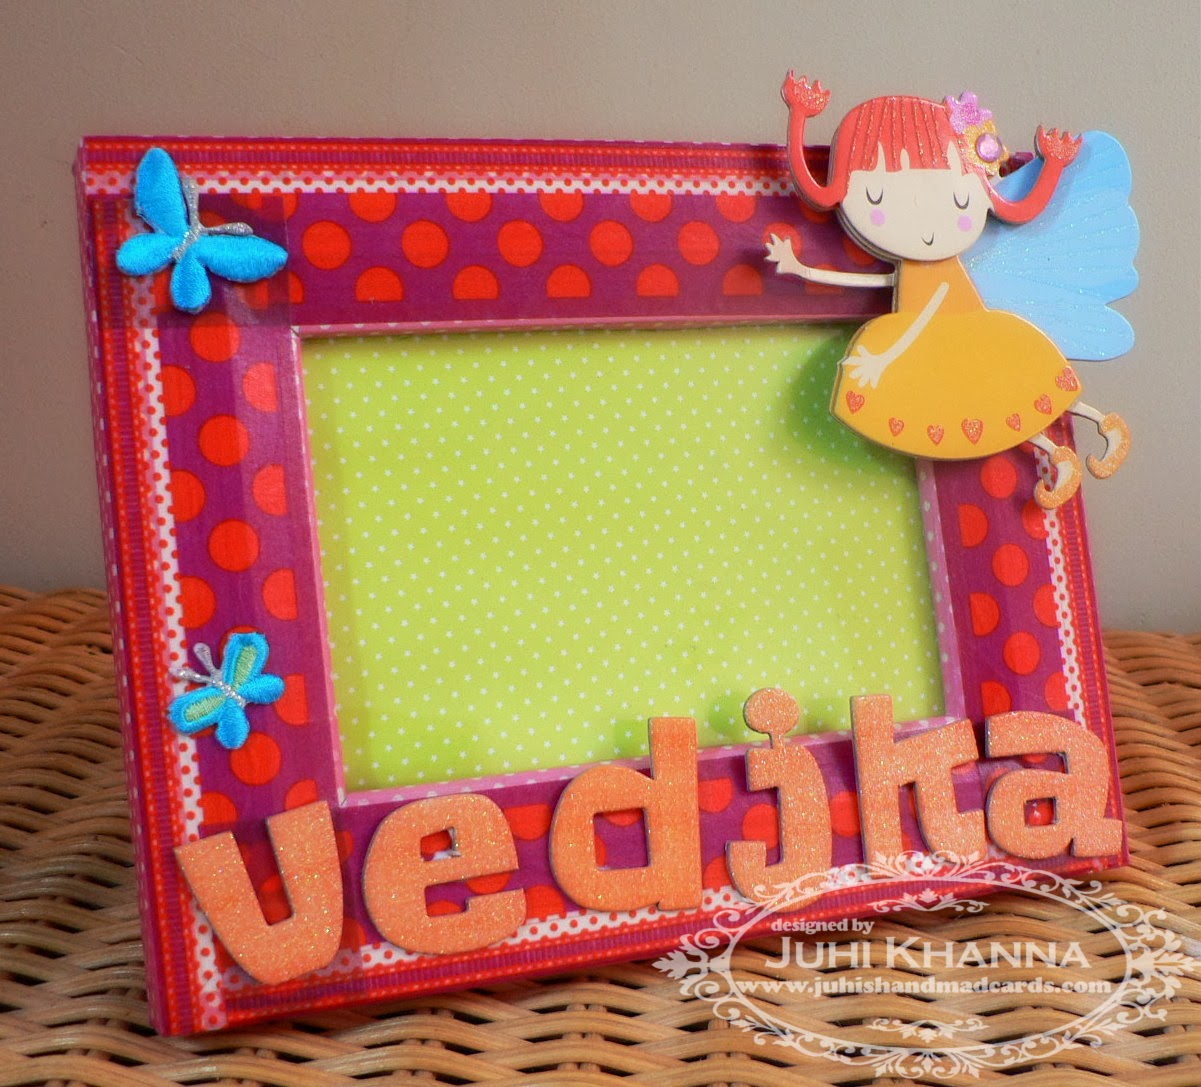
Personalized Baby Photo Frame

Even though I have been MIA from my blog for a long time I have been crafting regularly, mostly on various home improvement/decor DIY projects, custom orders and personalized gifts. I am just a beginner when it comes to home decor DIY (have been working on making my own curtains, fitted sheets, tea light holders and so on). I believe most of my DIY projects are not good enough to share here.....might start sharing some once I get better. Will be sharing a few of the custom orders too in the coming weeks...now onto the baby photo frame.
I started out with this cheap looking metal 4x6" store bought photo frame ...
and converted it to this using washi tape, 3-D chipboard stickers and a few embroidered butterflies.
applied a generous coat of Mod Podge all over the washi tape for protection.
And here is the package all set to be gifted to my little neighbour......for the packaging I've taken a plain brown paper bag and stamped baby elephants on it....love the end result! 
Thanks for visiting!

Tuesday, July 2, 2013

Up-cycled Shampoo bottle with Kusudama flowers


I up-cycled this bottle of Schwarzkopf Volume Boost Shampoo. Sliced off the top with a cutter, added some washi tape, sequined lace and golden ribbon bow. 
The kusudama flowers are from an old magazine.  I sprayed some walnut stain ink and golden shimmer mist on flowers once completed. The flowers though extremely easy to make involved a LOT of paper folding! 
Here's the vase brightening up my otherwise boring office desk...

The wooden buttons for the flower centers are from some old curtains.
Linking upto:

Tuesday, May 7, 2013

Mod Podge shoe makeover

There are tons of Mod Podge shoe makeover tutorials available over the internet, here's my take.
I started off with these boring red canvas shoes, I've hardly worn them, I wonder what I was thinking when I bought them!

You will need:
Old pair of shoes
Fabric Scraps big enough for the part of your shoe you want to cover
Mod Podge
Big Flat Brush/Sponge to apply the Mod Podge
Old newspaper
scissors
hot glue gun (only needed for the bow on top)
I decided to cover my shoe only partially, you can also cover it completely, a great tutorial on how to do that can be found here.
Nothing much to say, just cover the parts of your shoe where you want to put the fabric with a thick layer of Mod Podge and carefully stretch and place your fabric over it. Work in sections as Mod Podge tends to dry fast. Keep stretching and removing any folds in your fabric as you work along the sections. Leave to dry for about half an hour, once dry carefully cut off excess fabric. Apply a thick layer of Mod Podge over the fabric (don't worry Mod Podge dries to a clear finish) and let it dry and you are good to go! I also added a fabric bow to finish off my shoe.

Here's how I made it:
  1. Take three strips of roughly cut fabric as shown in the picture. My strips measured approximately 6"x1", 4.5"x1" and 1.5"x0.5". The dimensions don't have to be exact, cut the longest strip a little over double the desired length of your bow and adjust the other strips' dimensions accordingly.
  2. Fold and hot glue the first 2 strips from both ends as shown in the picture.
  3. Place the smaller bow on top of the larger one and hot glue them together.
  4. Scrunch up the bow from the middle and hot glue it in place.
  5. Wrap the third fabric strip tightly around the middle and hot glue it in place and your bow is ready.

Hot glue your bow on to the shoe and you are done!
Hope you enjoyed my short tutorial.....
I just discovered that my shoe make-over project is a perfect fit for this month's challenge at the lessology blog - Challenge #25: For the love of fabric......I'm not if this is acceptable cause I posted this post on 7th May but I am linking it up to the challenge on 15th May....

Thanks for visiting!