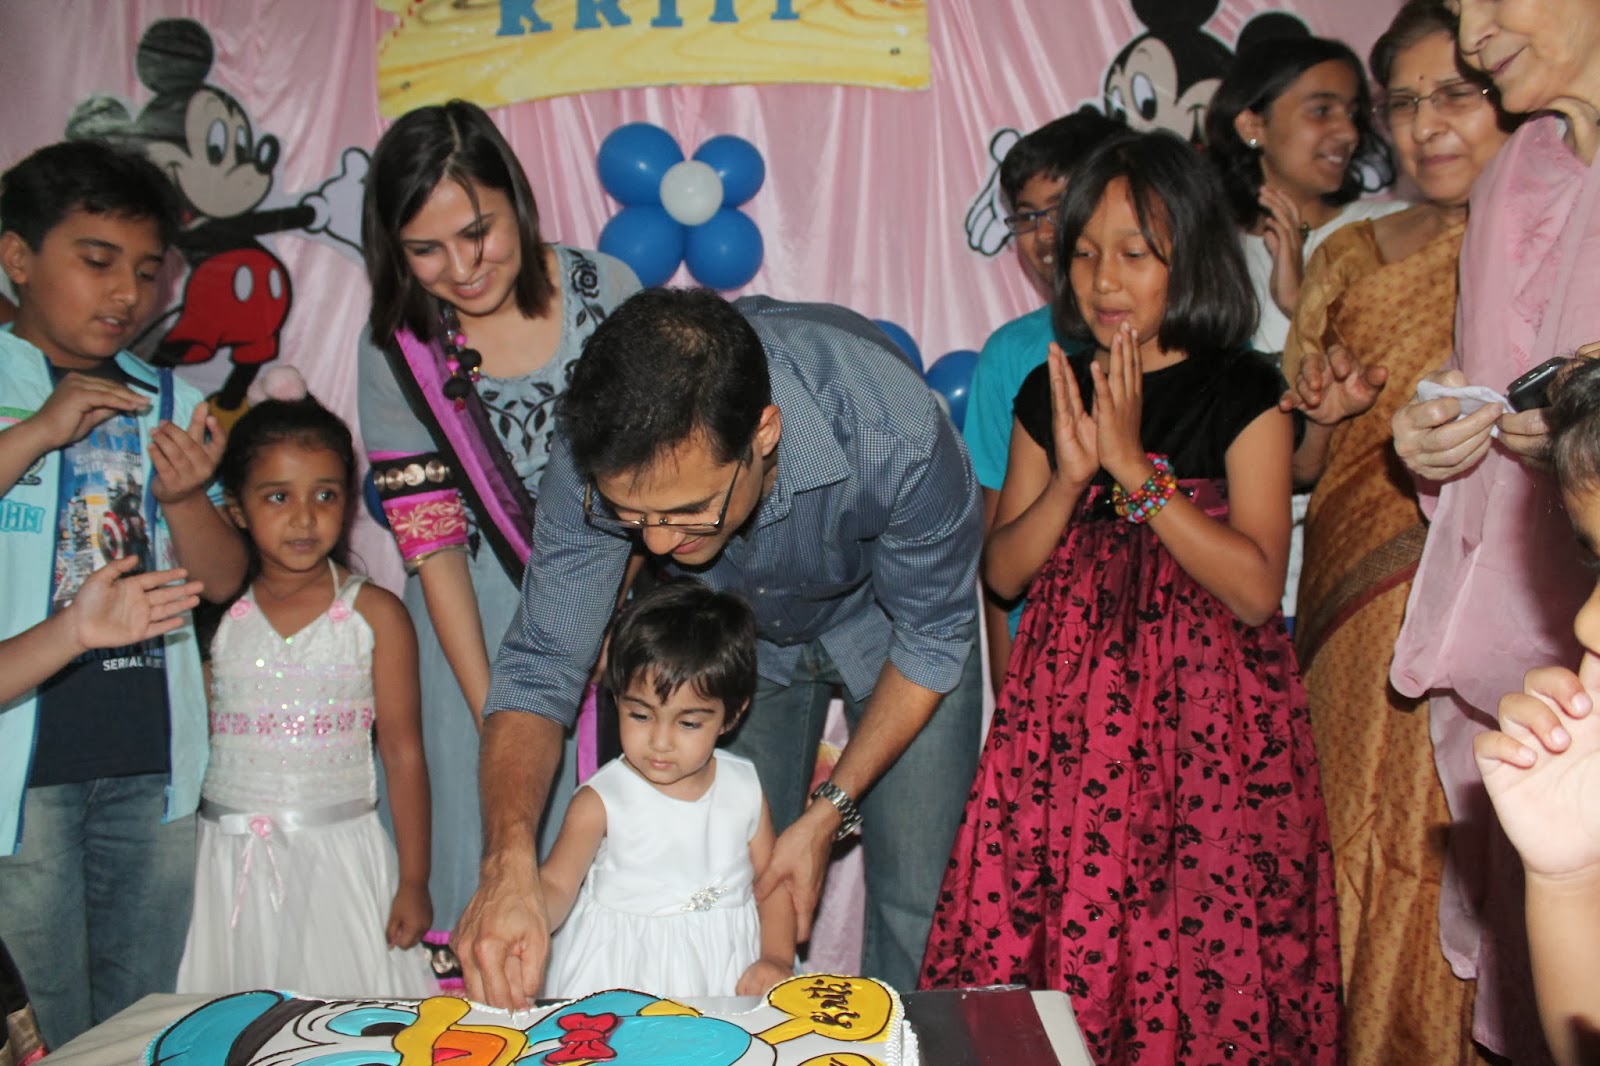
We celebrated our daughter Kriti's second birthday in December last year. She was very keen on a Mickey Mouse and friends themed birthday party; the birthday cake had to feature Donald Duck, as blue is her favorite color.
Since the theme was decided more than a couple of months ahead of the party I wanted to do make everything on my own, right from the party decorations to invites to the return gifts. I had a vision of a themed birthday party something on the lines of what you see on Pinterest :). Well ofcourse our party was not even close, all I could manage in the limited time I get to craft was to come up with invitation cards and personalized party favor bags. For the decoration we had to manage with local decorators; and guess what we landed up adding Winnie the Pooh because they didn't have enough Mickey and friends cutouts, luckily Kriti did not complain.
For the birthday cake we got a not so great looking Donald Duck cake, but it tasted great and Kriti loved it and that's what really matters :).
Amongst other games we also had a "pin the bow on Minnie's head" game which the kids enjoyed, Minnie's head was hand drawn by my mom.
And here's a look at the invites:
For the party favor bags I converted regular party bags into personalized favor bags. The names were cut using Silhouette Cameo and the Mickey Silhouettes were hand-cut.
Here's a quick tutorial on how to convert a regular paper bag into something fancier.
- Take a regular paper bag
- Remove the existing handle from the bag.
- Fold the top of the bag to the desired height.We want to make more holes on the bag aligned with the existing holes on the top of the bag; so mark the location where the new holes would go.
- Punch holes at the marked locations. I used my Martha Stewart hole puncher.
- Decorate the bag and add the goodies in the bag.
- Now tie it up with ribbon.
- Put the ribbon through the 2 bottom holes from the back (non decorated side) of the bag to the front.
- Now put the ribbon through the top holes from the front of the bag to the back,now pull the ribbon tight and tie into a bow
- and you are done!
Signing off with one of the few good portraits of Kriti.....

 Even though I like the result I feel that there is a lot of room for improvement, first of all the I believe that the photo should have been bigger and probably a close up shot would look better. What do you think?