Showing posts with label not a card. Show all posts

Sunday, October 8, 2017

Reverse Confetti October Blog Hop!

Today is the day!  It is the Reverse Confetti October Blog Hop!  

You should have arrived here from the awesome Susan Liles's blog!  If not, you'll want to start at the beginning of the hop which is the Reverse Confetti blog!

I made a couple of Christmas Tree Shaker Ornaments.  Be warned, get your sunglasses if you don't want to be blinded by these super shimmery and glittery shaker ornaments! 
Well....I did warn you!

I used bright glitter foam to create these, the cute bear and Christmas tree are from the Christmas Bear set from the September release.
The Fa-la-la die is also from the September release.


Remember to hop over to the Reverse Confetti Blog to see all the fabulous inspiration and to leave comments on my other teammates blogs!   
                                                                      Amy Kolling

Sunday, May 29, 2016

Shabby Chic Baby Girl Mini Album

Hello everyone! Today I'm sharing a peek at a cute baby girl mini album that I made for my Design Team Project for Bob n Betty Papers.
Sneak peek of a shappy chic baby album
Check out the full album here - http://bit.ly/shabby-chic-baby-album
or catch the video here -
Thanks for visiting and have a great week!

Wednesday, March 18, 2015

Decoupaged VIntage Mini Chest of Drawers

Decoupage has been on my mind for a very long time, and the hoarder that I am I have a carton full of MDF blanks - I have wishing wells, trays, boxes, some more boxes and lots more.
Before venturing to make this chest of drawers I decoupage a few boxes, so I was fairly confident that I would be able to pull this off.
I began by painting the entire surface with Gesso mixed with Teal acrylic paint. After the paint dried I added the patterned paper (which is from DCWV Cherry Blossoms stack) with Mod Podge. Distressed all the edges with Vintage Photo distress ink and even scrapped the MDF wood from some edges to create a worn out vintage look.
Printed out some free vintage photos to put in the tiny frames (the bigger one is from Prima) and added some cute trinkets and charms.
The drawer knobs are traditional Indian Kundan buttons.
The chest of drawers measure 6.5x3.5x9"
Thanks for visiting!

Sunday, January 11, 2015

A Saturday afternoon well spent...


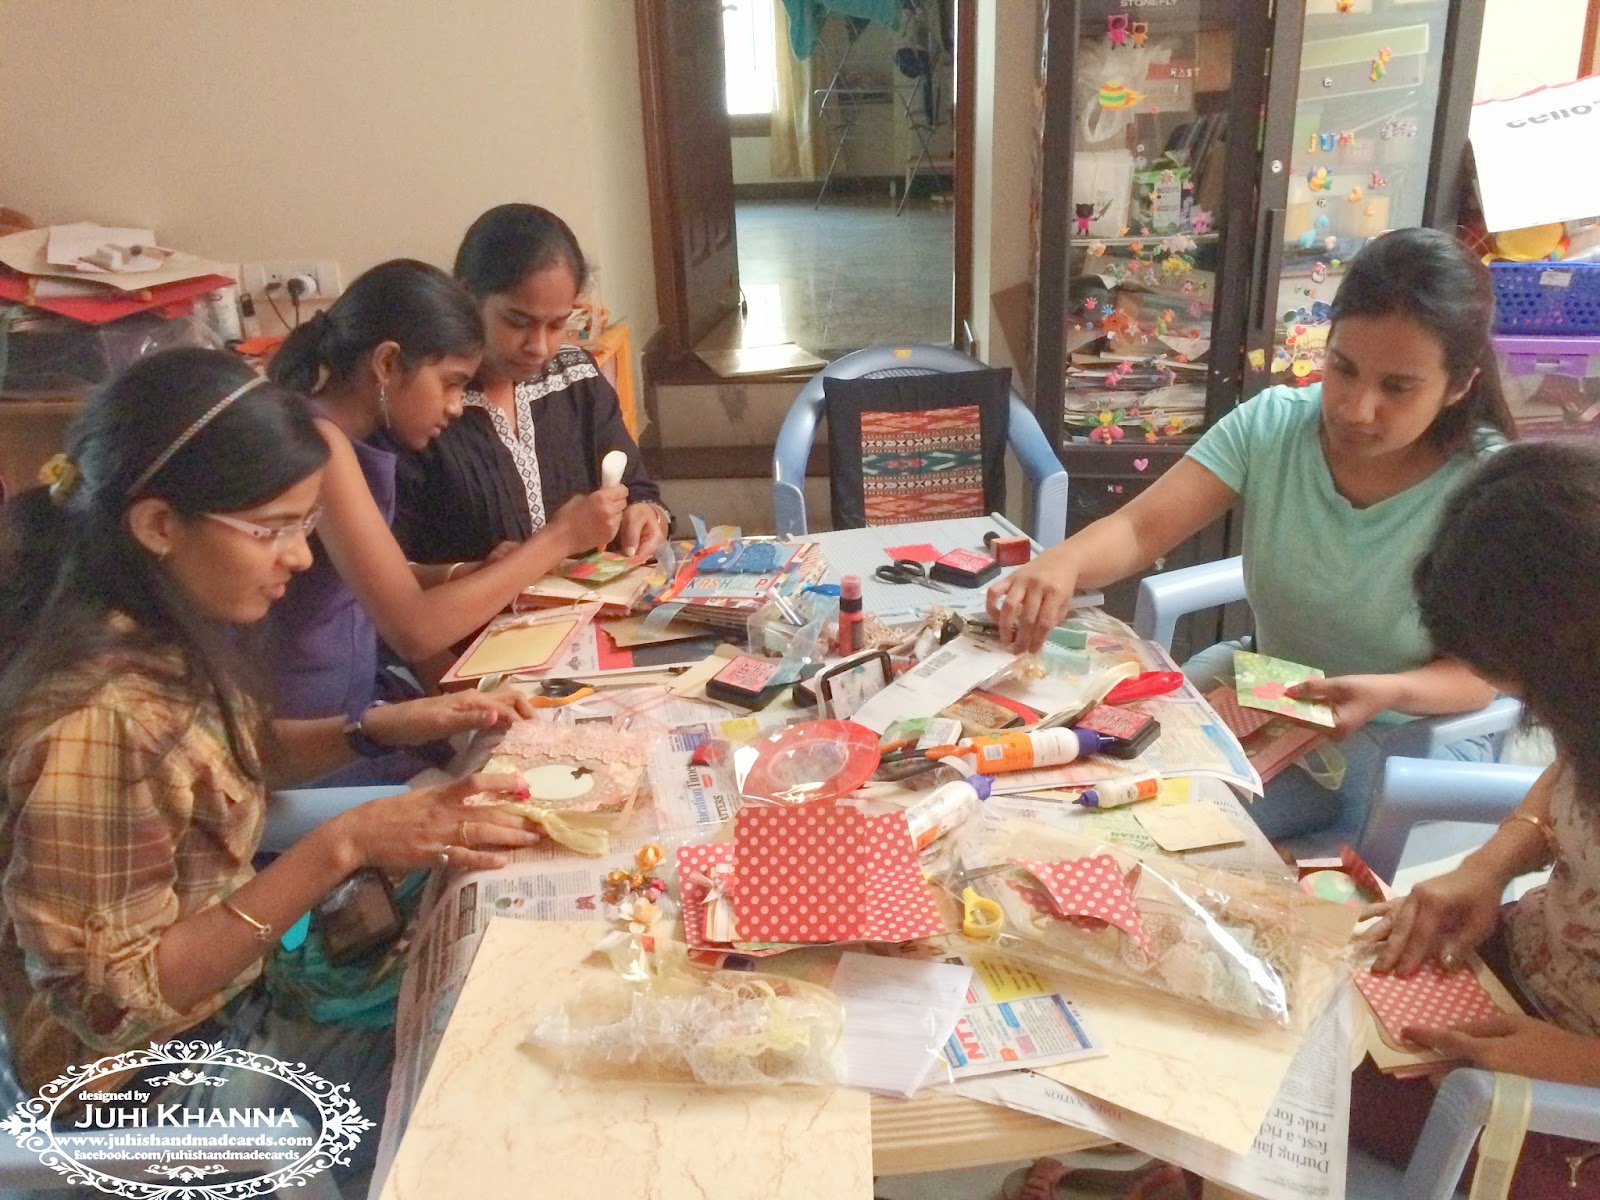
Here's a peak at the "Mini Album Making Workshop" this Saturday. We had so much fun. I've discovered that I find teaching craft even more satisfying than crafting itself! Which means more workshops coming up :)
All set

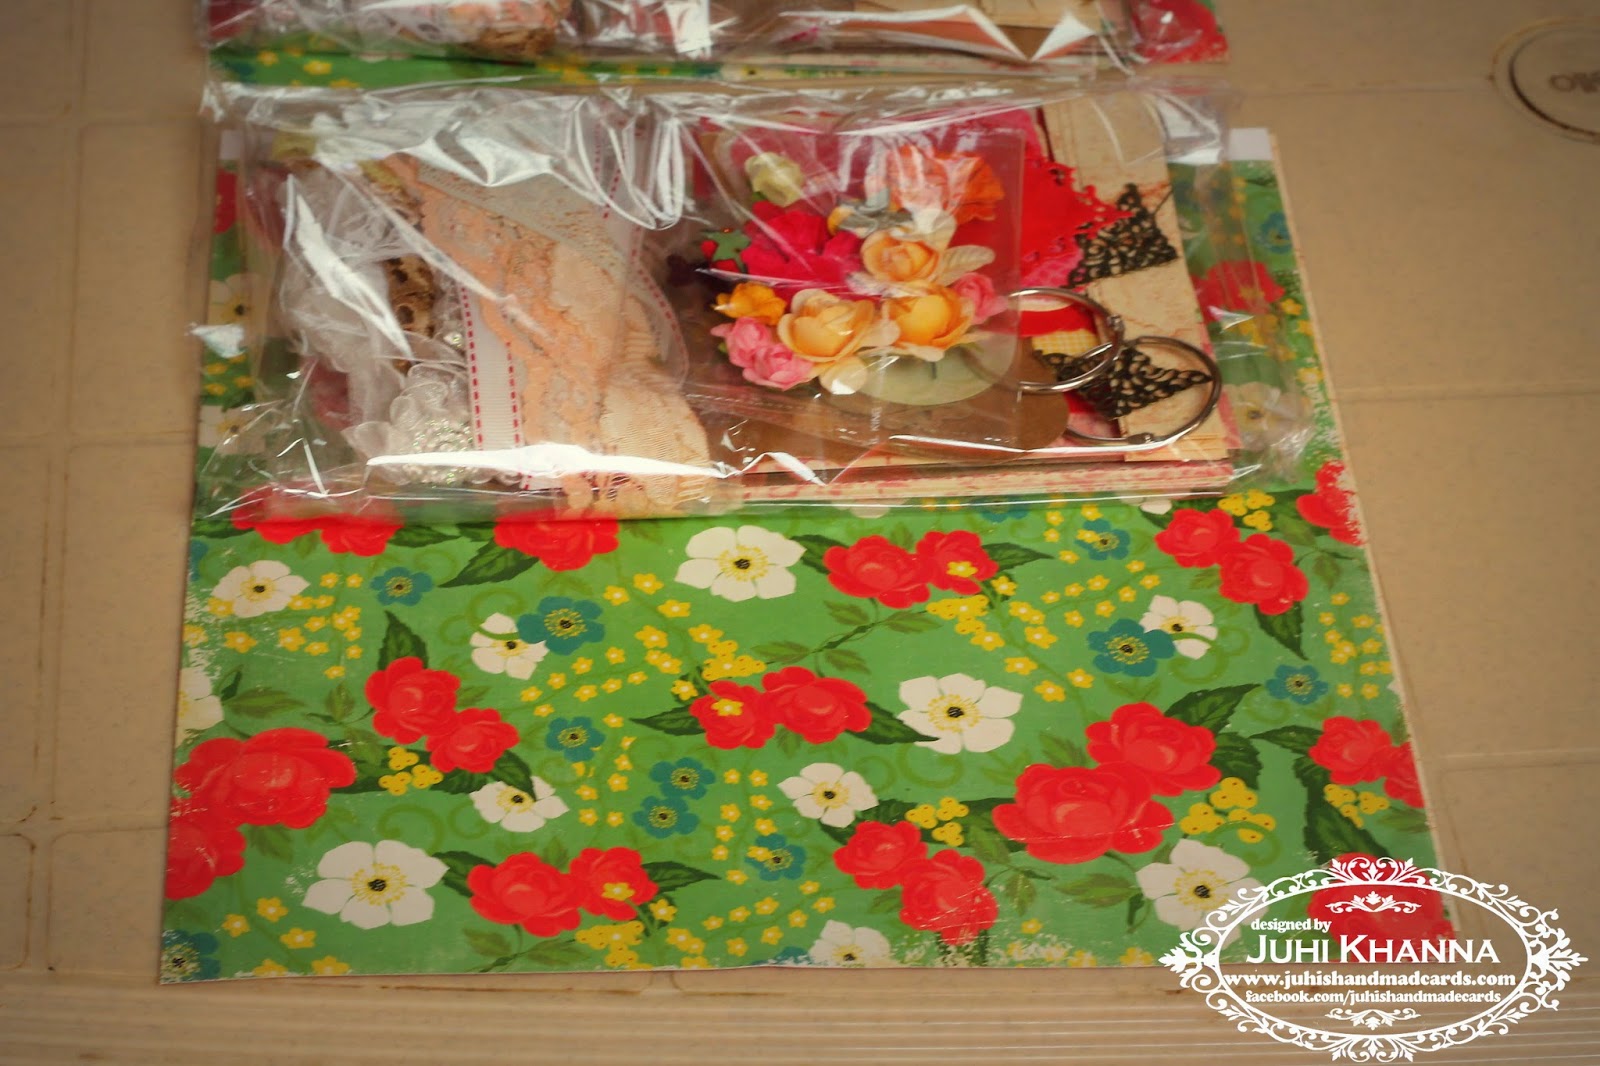
The Kit


Monday, January 5, 2015

Scrapbook Mini Album Making Workshop


Hello everyone, learn how to make these pretty scrapbook mini albums at my upcoming workshop on 10th January
Here are all the details:
Workshop (Beginner to intermediate level) by Juhi Khanna from Juhi's Handmade Cards
When: 10th January, 2015 (Saturday)
Where: MIMS Gulmohar, Behind ECC Road, Near GR Tech Park, Whitefield, Bangalore 560066 (this is very close to ITPL)
How long : 1:00 pm - 5:30pm (1 tea break)
How much: Rs 1200/- (Inclusive of material kit, tea and snacks)
What the kit contains- Raw material including laces, trims, ribbons and embellishments needed to make a 6 page 6x6.5" mini album
We will be covering:
• Basic tools required for scrabooking/card making.
• Distress inks, Stamps, Inks( Chalk, dye, pigment etc) and Stencils
• Tips & tricks
• How to make, embellish and bind a scrapbook mini-album
What you will take home:
Finished project and raw material for few more projects
What you must bring from home:
1. Fevicol MR
2. A pair for scissors
Kindly email me at juhi.handmade.cards@gmail.com to register and confirm your booking. You are requested to pay the full amount latest by 7th January 2015 to confirm a seat. Booking will be done on first come first served basis.

Wednesday, September 10, 2014

Guest DT post at Kraftzone

Hello Everyone,
I am guest designing this month at Kraft Zone blog this month....the theme for the month is Babies...here's a sneak peak of what I created...
 check out the full reveal here
Do head to the blog with your baby/toddler related projects for a chance to win some awesome craft goodies!

Friday, May 30, 2014

Daughters are so special...

When it comes to scrapbooking I am a complete newbie. There's so much to learn. 
Here's one layout I created, it features my daughter, Kriti when she was 1 and a 1/2.
Even though I like the result I feel that there is a lot of room for improvement, first of all the I believe that the photo should have been bigger and probably a close up shot would look better. What do you think?
Background paper is from DCWV Mariposa stack. The flowers are die-cut - Tim Holtz tattered floral die (regular and jumbo) and colored with Lindy's Stamp Gang Starburst Sprays. The title is an MDF cut I got from Anita. The photo frame is a Silhouette Cameo cut-out.

Wednesday, April 23, 2014

First we had each other...

I made this canvas for a friend who had a baby girl recently. The quote was cut using my Silhouette Cameo, the background patterned paper is from DCWV, I added a generous dose of sparkle Mod Podge over the entire canvas.......love love love the shimmer :)
I also added a customized photo frame (yup you guessed it the baby's name is Saannvi ;) )  to complete my handmade gift set.

Saturday, April 12, 2014

You make my heart sing

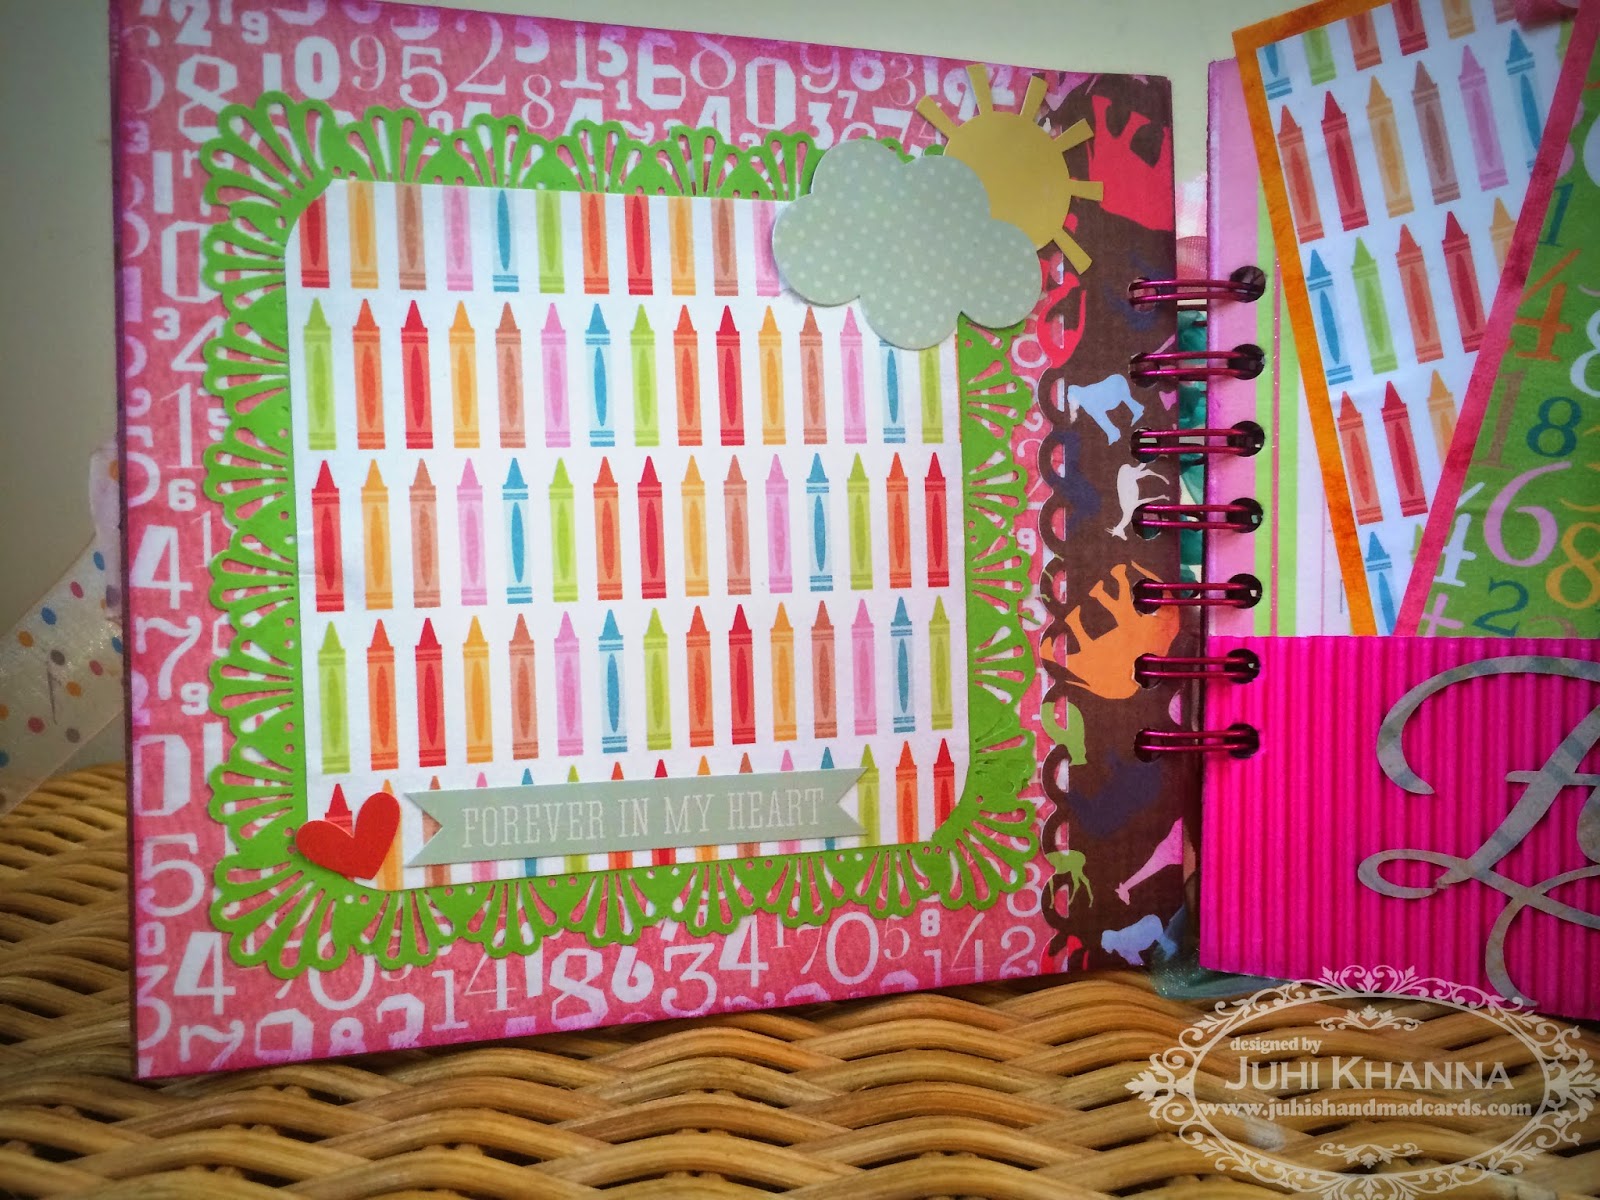
Hi friends today I am sharing a chipboard mini album I made for my nieces Rahini and Aarna.....all the papers are from various DCWV stacks...the stickers and toppers are from Echo Park.


Thursday, March 6, 2014

Convert an ordinary paper bag into a Party Favor bag

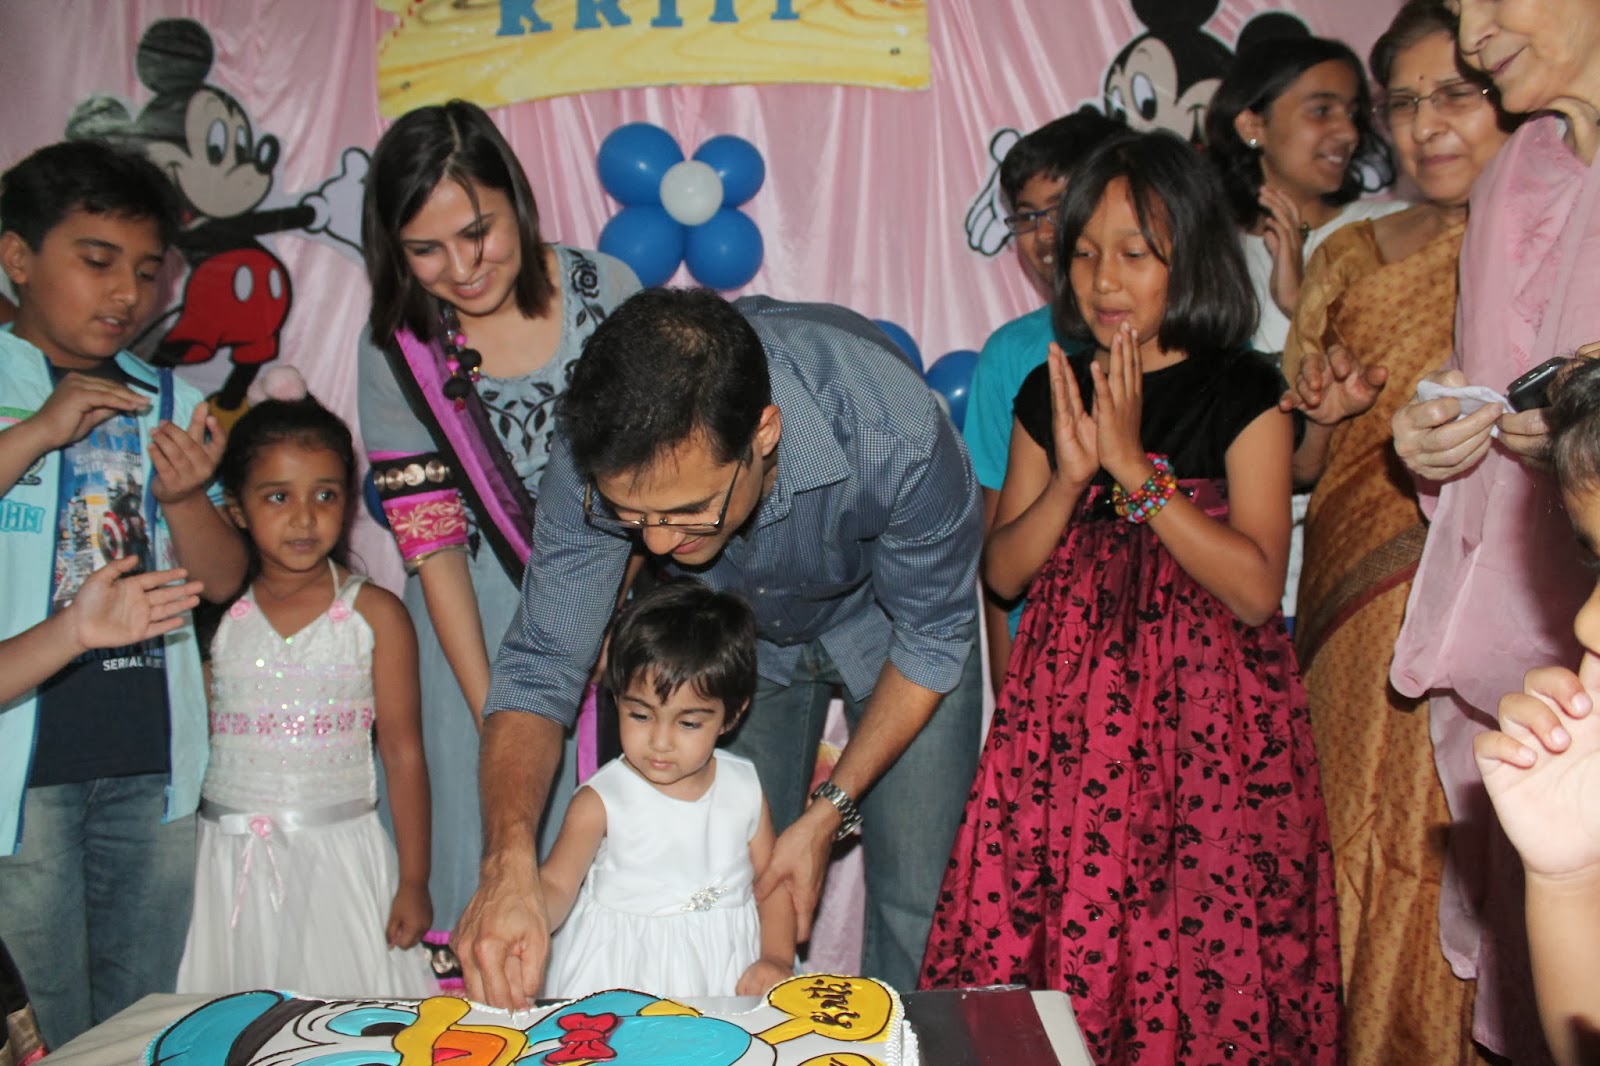
We celebrated our daughter Kriti's second birthday in December last year. She was very keen on a Mickey Mouse and friends themed birthday party; the birthday cake had to feature Donald Duck, as blue is her favorite color.
Since the theme was decided more than a couple of months ahead of the party I wanted to do make everything on my own, right from the party decorations to invites to the return gifts. I had a vision of a themed birthday party something on the lines of what you see on Pinterest :). Well ofcourse our party was not even close, all I could manage in the limited time I get to craft was to come up with invitation cards and personalized party favor bags. For the decoration we had to manage with local decorators; and guess what we landed up adding Winnie the Pooh because they didn't have enough Mickey and friends cutouts, luckily Kriti did not complain.
For the birthday cake we got a not so great looking Donald Duck cake, but it tasted great and Kriti loved it and that's what really matters :).
Amongst other games we also had a "pin the bow on Minnie's head" game which the kids enjoyed, Minnie's head was hand drawn by my mom.
And here's a look at the invites:


For the party favor bags I converted regular party bags into personalized favor bags. The names were cut using Silhouette Cameo and the Mickey Silhouettes were hand-cut.
Here's a quick tutorial on how to convert a regular paper bag into something fancier.

  1. Take a regular paper bag
  2. Remove the existing handle from the bag. 
  3. Fold the top of the bag to the desired height.We want to make more holes on the bag aligned with the existing holes on the top of the bag; so mark the location where the new holes would go.
  4. Punch holes at the marked locations. I used my Martha Stewart hole puncher.
  5. Decorate the bag  and add the goodies in the bag.
  6. Now tie it up with ribbon. 
  7. Put the ribbon through the 2 bottom holes from the back (non decorated side) of the bag to the front. 
  8. Now put the ribbon through the top holes from the front of the bag to the back,now pull the ribbon tight and tie into a bow 
  9. and you  are done!
Signing off with one of the few good portraits of Kriti.....