Showing posts with label photo frame. Show all posts

Saturday, November 7, 2015

Share Handmade Kindness

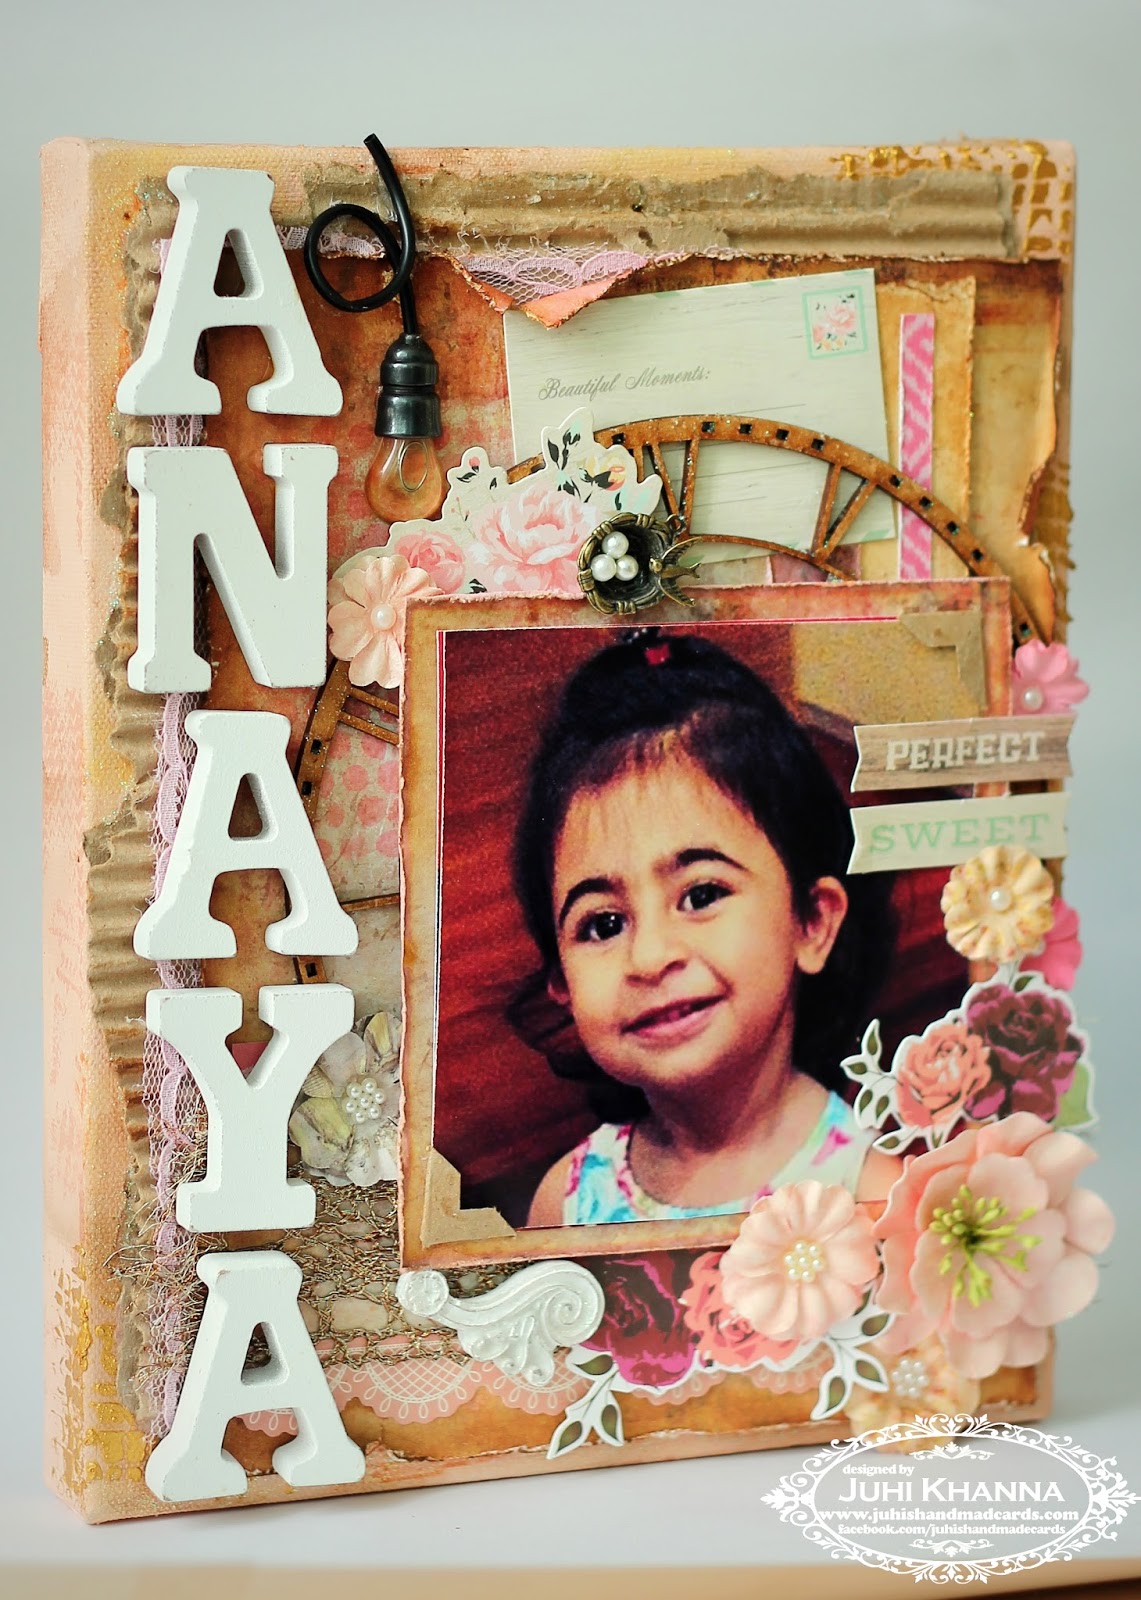
Happy Saturday! I hope everyone's having a great Saturday. Today I'm sharing a mixed media canvas I made for a friend;
as a few of you might know I moved to Singapore recently. Right after we moved here, my husband had to travel for work for 5 weeks, leaving me and my LO in a new place with no friends or family around. I was lucky enough to meet my friend at this time, she never let me feel alone in a new place, invited us on play dates, introduced me to her friends and helped me find my way around the neighborhood.....
After reading about Jennifer Mcguire's "Share Handmade Kindness" challenge for friends and family,

I just knew I had to make something for her.
Even though I'm just a beginner when it comes to mixed media, I enjoyed adding all the layers and textures on this canvas.....and love how it turned out.....and the best part is the photo is not fixed and can be changed.
Also playing along
Creative Artiste Challenge 8 - Mixed Media
CAS-ual Chic Challenge - CCC05 - Precious Metals
Thanks for visiting!

Wednesday, April 23, 2014

First we had each other...

I made this canvas for a friend who had a baby girl recently. The quote was cut using my Silhouette Cameo, the background patterned paper is from DCWV, I added a generous dose of sparkle Mod Podge over the entire canvas.......love love love the shimmer :)
I also added a customized photo frame (yup you guessed it the baby's name is Saannvi ;) )  to complete my handmade gift set.

Thursday, January 9, 2014

Fun with Washi Tape!

I transformed two boring metal photo frames into these....
with washi tape, 3D chipboard stickers and alphas......these took less than 2 hours to make.
 I have covered the pink one with mod podge and left the green and blue one as is...I'm happy with both the results. 
Giraffes are my daughter's favorite wild animals at the moment so she is very happy with this one :) 

Wednesday, December 4, 2013

Wedding anniversary shadow box


Shadow boxes have been on my mind for long, last week I finally got around to making one. I made this for my parents who celebrated their 40th wedding anniversary this November.
I first painted the MDF shadow box black and added some patterned paper at the edges and inside the box partitions. Added photos in three partitions and covered everything with a generous layer of Mod Podge. I finally embellished the box with MDF, chipboard and metal embellishments.
Supplies used:

  1. 12x12" MDF shadow box
  2. Gesso and Black acrylic paint
  3. K & Company patterned paper
  4. Mod Podge
  5. Tim Holtz tattered floral die
  6. Tim Holtz distress paint
  7. Mdf embellisments from here and here
  8. Metal embellishments are from a RAK from Mallika
  9. Flower centers are from my stash

Sunday, October 27, 2013

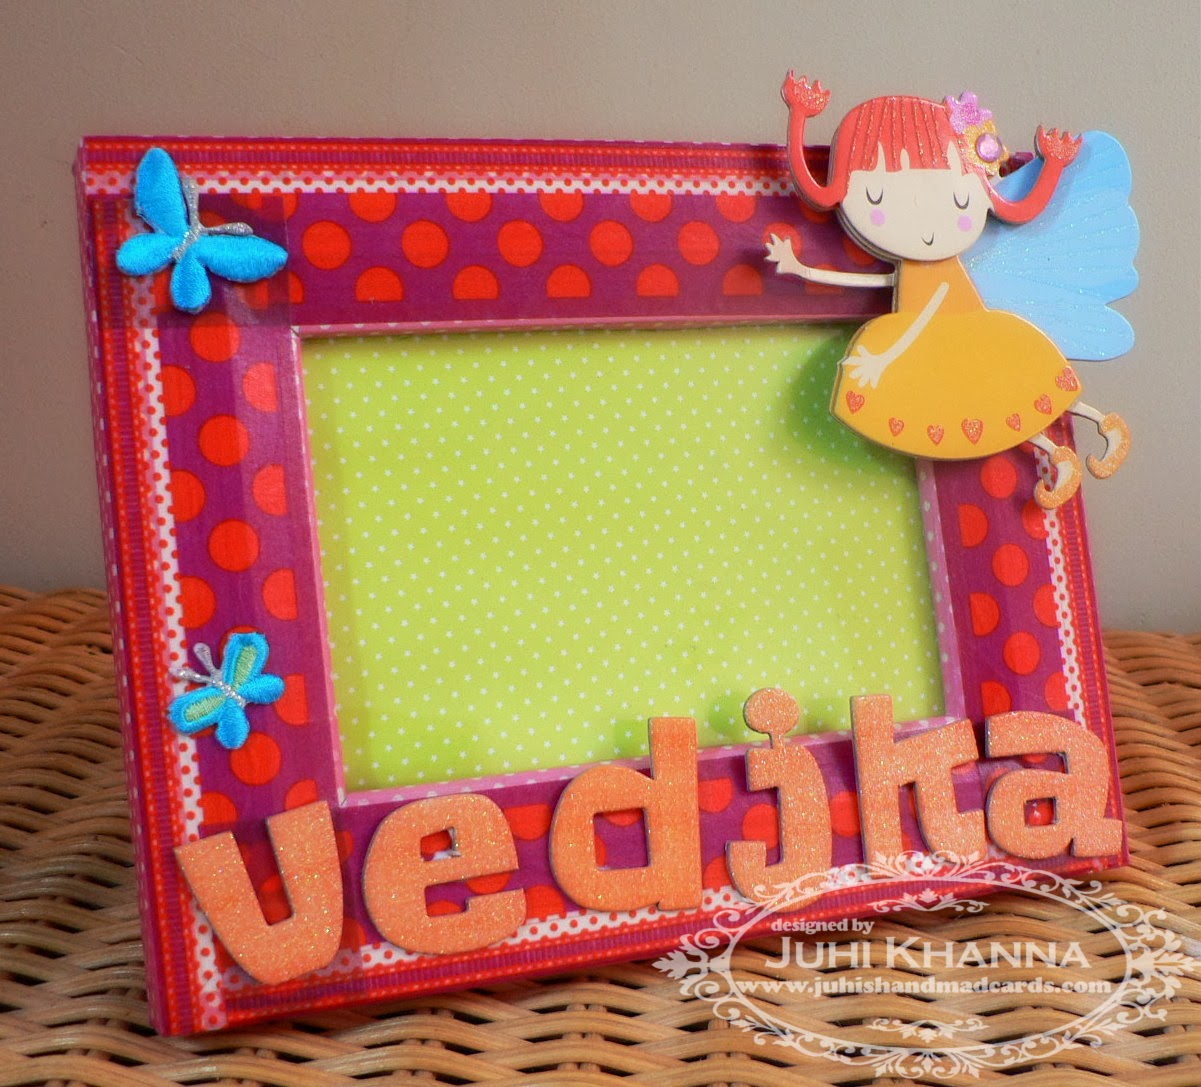
Personalized Baby Photo Frame

Even though I have been MIA from my blog for a long time I have been crafting regularly, mostly on various home improvement/decor DIY projects, custom orders and personalized gifts. I am just a beginner when it comes to home decor DIY (have been working on making my own curtains, fitted sheets, tea light holders and so on). I believe most of my DIY projects are not good enough to share here.....might start sharing some once I get better. Will be sharing a few of the custom orders too in the coming weeks...now onto the baby photo frame.
I started out with this cheap looking metal 4x6" store bought photo frame ...
and converted it to this using washi tape, 3-D chipboard stickers and a few embroidered butterflies.
applied a generous coat of Mod Podge all over the washi tape for protection.
And here is the package all set to be gifted to my little neighbour......for the packaging I've taken a plain brown paper bag and stamped baby elephants on it....love the end result! 
Thanks for visiting!

Thursday, April 25, 2013

Desktop Flip Album - Guest Post for Itsy Bitsy

Do check out my guest post at the Itsy Bitsy blog. Here's a sneak peak

Sunday, March 10, 2013

Go for what you want

Coming with good blog post titles is tough for me as would be clear from this one title :P.

I've had this un-embellished (I'm not sure if such a word exists!) photo frame (handmade from scratch by me) with me for a couple years.....just added some layered flowers, butterflies and a quote printed on vellum to finish it off.
Thanks for visiting!

Wednesday, January 30, 2013

50th Wedding Anniversary Photo Frame

A quick post to share something I made for my uncle and aunt's 50th wedding anniversary.
Linking upto:

Friday, March 25, 2011

Not my style

Vintage is not my style (which mostly means that I am not able to get the effect however hard I try!)....anyway I decided to give it a shot for Get out of your comfort zone with Michelle Bertuzzi!
I transformed a plain photo frame which looked like this
 into this......not vintage exactly...I feel the blue in the background PP is out of place a bit......I've sprayed tons of perfect pearls onto the frame so it has beautiful fine shine IRL (not visible in the pic).
The couple in the picture are my parents, I guess the picture was taken sometime in the 80s....
Have a great weekend!

Friday, January 21, 2011

Alice.......

Alice in Wonderland is one of my all time favorite books. I remember my mum reading it out every night to my sister n me when we were kids.....I must have read it atleast 10 times after that.......it never fails to capture my imagination every time I read it....this is one of my favorite quotes from the book
"One day Alice came to a fork in the road and saw a Cheshire cat in a tree. Which road do I take? she asked. Where do you want to go? was his response. I don't know, Alice answered. Then, said the cat, it doesn't matter.”
This quote aptly describes my state of mind most of the time :P
I started making this as a gift but the frame did not turn very good, so this goes on my office desk.
Thanks for visiting! Have a great weekend!

Wednesday, April 14, 2010

Baby Boy

This is something I made as a gift for a couple who just had a baby boy. It can be hung up on the wall.

The tiny blue plaster of paris teddy and the wooden alphabet (for "babies") are from my trip to Jordan. All the other alphabets and the die-cut car is from Itsy Bitsy. I have added a quilled sail boat, a punched moon and a star. The frame is also handmade, a great tutorial for which is here.

Monday, February 1, 2010

Some more quilled photo frames

I clicked these pictures in a hurry and it shows.........alas I don't have these with me anymore to take better pictures :( . So I guess I'll have to do with these...........Thanks for looking!

Friday, October 2, 2009

Some more photo frames


I could not do much crafting this week, had been terribly busy at work, and was down with a bad cold too :(.
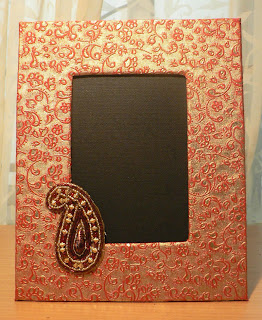
I had made these photo frames few days back. They have been made using beautiful handmade paper. I just love the colors and the texture of these. The red paper almost looks and feels like real brocade!!
Thanks for visiting!

Wednesday, September 23, 2009

Quilled Photo Frames

I have recently started making photo frames, though my first love remains card making. Making photo frames requires a lot of time and patience but the end result makes it worth all the effort.
Here are a few quilled photo frames that I made last week. All the frames measure approximately 8 x 6.5 inches.The size of the photo is 5x3.5 inches. The frames have an opening at the top for inserting the picture. I have decorated the frames with the blend of quilled flowers and leaves, punches butterflies and leaves and some metallic roses.
Happy Crafting!!

Wednesday, August 26, 2009

Not a card this time!

The Card Patterns design team came up with heart boxes instead of cards this week. So I also decided to make something other than a card. I came up with this photo frame (maybe not exactly a frame coz I kinda permanently fixed the photo to the frame) using old red colored packaging.....The picture is of my parents when I was growing up.........don't they look great together?
Thanks for visiting!!

Tuesday, August 4, 2009

My First Photo Frame

Making a photo frame using handmade paper had been on my mind since a long time, I just couldn’t figure out how to make one. I finally bought a handmade frame, did some reverse engineering and figured out how to make one. I like how this has turned out, initially I thought of doing some quilling around the edges, but I guess it looks pretty without that too, what do you say?
This one shows it without a picture in it...Here's a view of the back...from the side (do pardon my cluttered workspace :P )Making a frame is not as difficult as it looks, I’ll probably post a tutorial soon.......

Thanks for looking!!